
Sensepost Maltego Toolkit: Skyper
This blogpost is a direct copy of previous research i have done at SensePost. The original post resides here: https://sensepost.com/blog/2016/sensepost-maltego-toolkit-skyper/
This blog post is purely for archive purposes only
Collecting and performing Open Source Intelligence (OSINT) campaigns from a wide array of public sources means ensuring your sources contain the most up to date information relating to your target.
Skype, with over 300 million users, can be a vital source if used correctly.
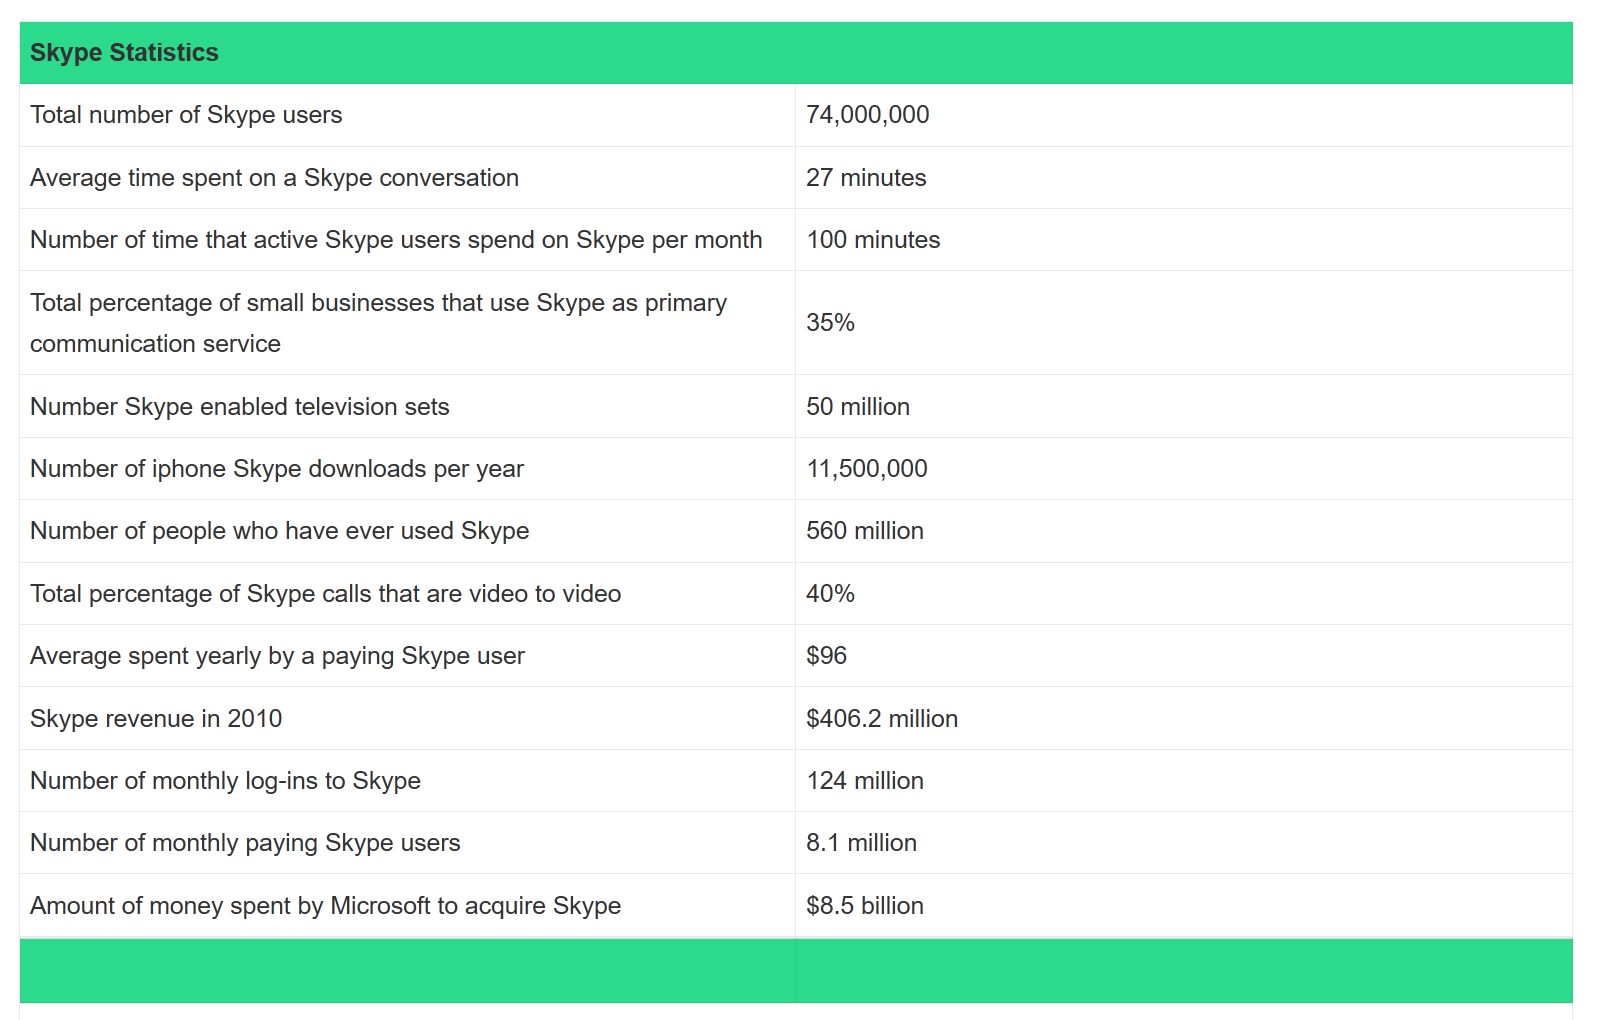
The above graphic shows over 70 million active members and over 500 million users that have registered!.
As with all things online, many users leak sensitive information about themselves that those with the right skills, could harvest.
Thing is, how do you perform large-scale queries and visualise the returned data?
Enter Skyper:
“Skyper” is a Maltego Transform that is part of the Sensepost Toolkit that enables users to search for “Names” “Aliases” and “Email Addresses” and order by their location.
Obtaining the transforms.
From the Transform Hub, click on the refresh button and you should see the SensePost Toolkit
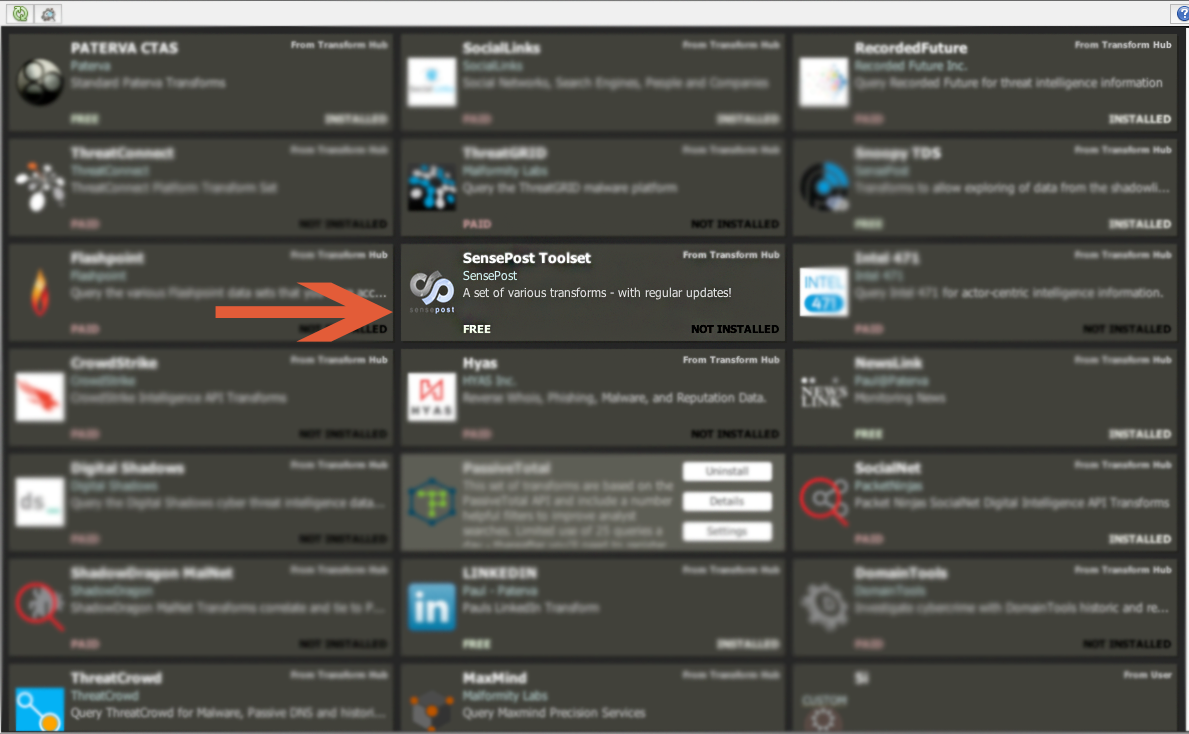
Clicking on Install will install Skyper, along with our other OSINT tools. If you already have our Toolkit installed, clicking update will update any installed transforms.
Usage
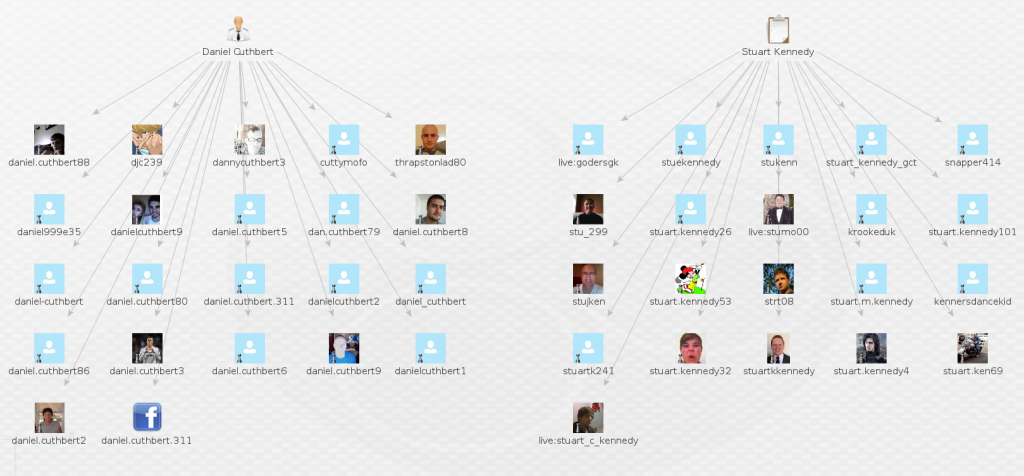
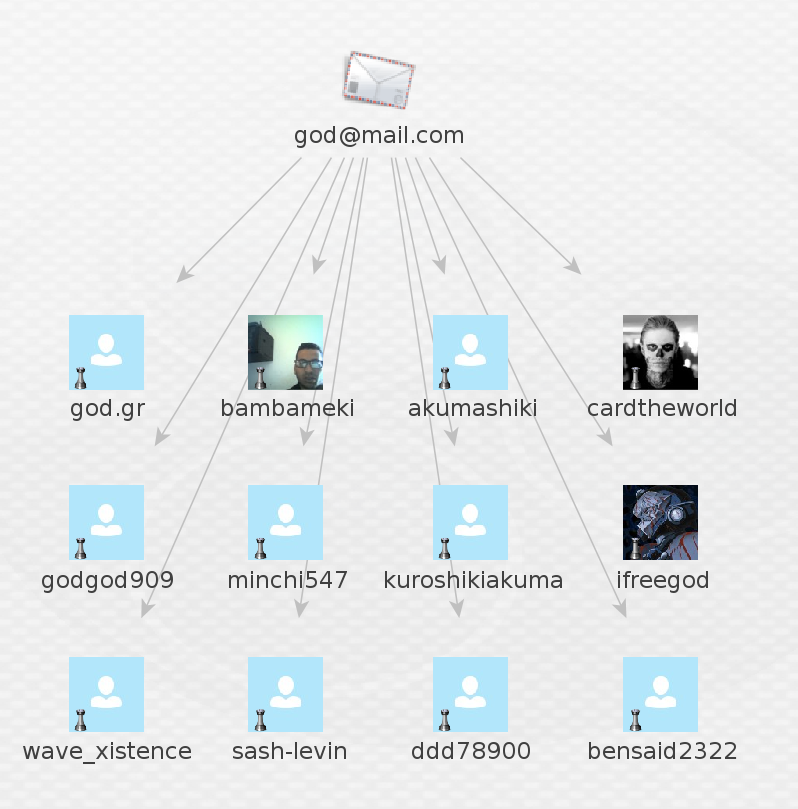
Once this is complete, open a new graph and add a “Phrase”, “Person” or “Email” Entity to the graph
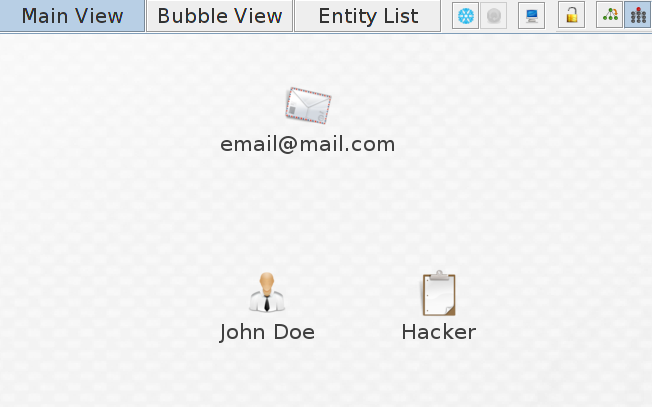
In this case i have added all three to the graph, next right click on one of the entities and select “Search for Skype User”

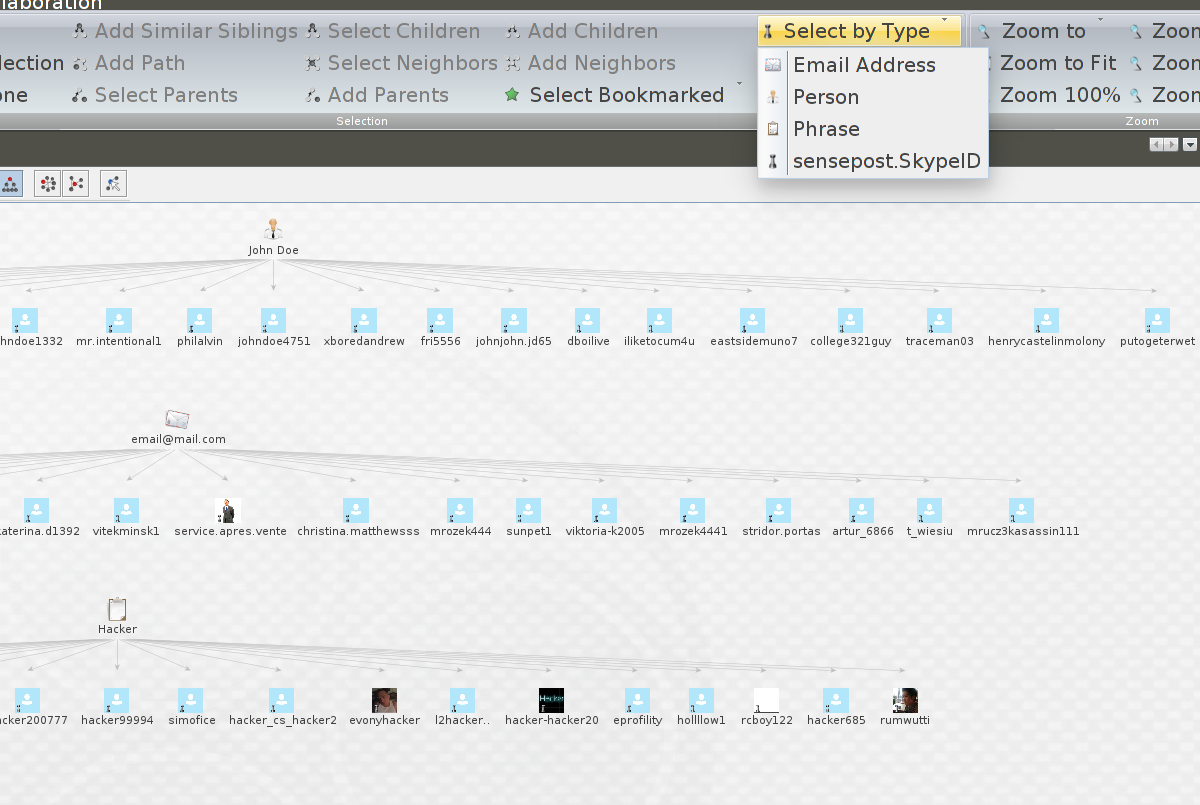
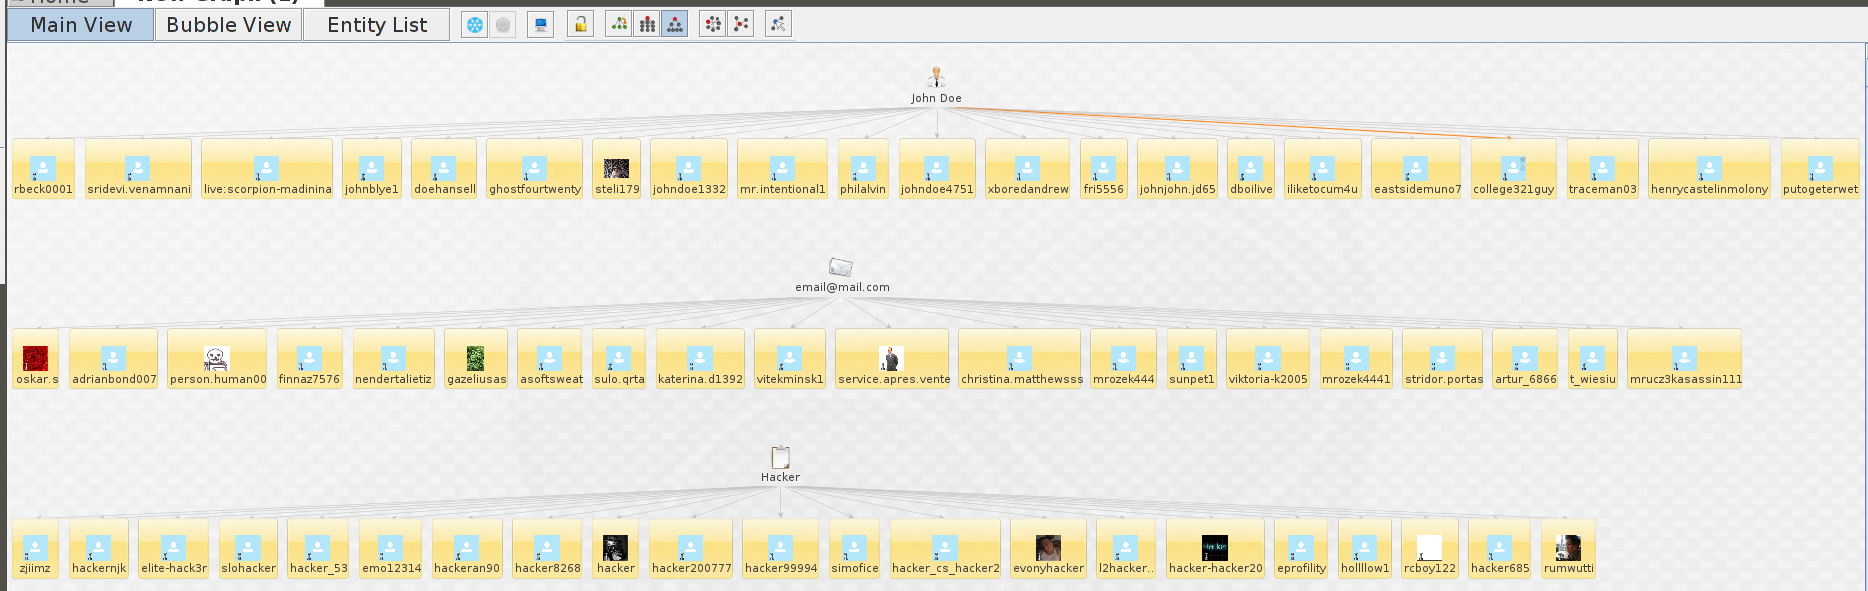
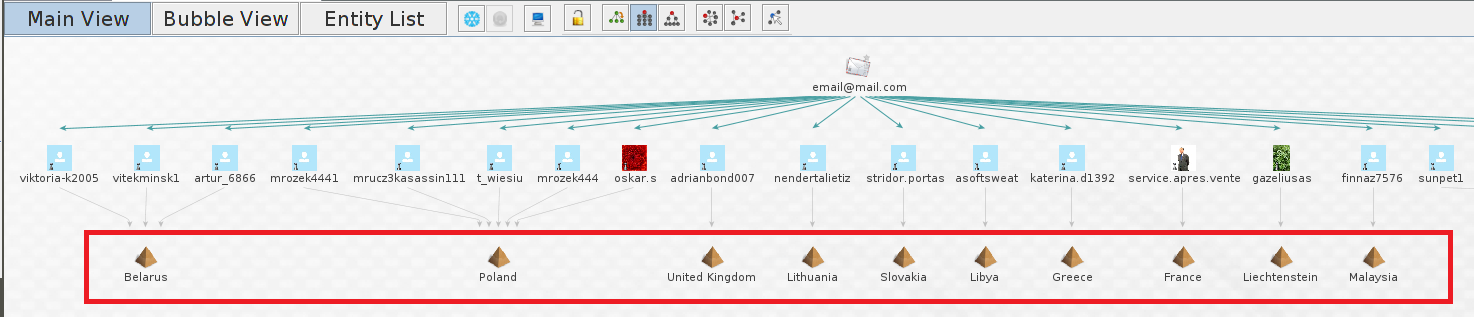
As you can see from the graph below, these are the entities returned with each one of the Entities used with the transform.

The transform will return a maximum of TWENTY entities at any time.
Unfortunately this is down to what Microsoft has limited per search. We can now take the returned entities one step further.
Select all the SkypeID entities by going to “Select by Type” on the “Investigate” tab, this will highlight all returned entities.
Now right click on one of the selected entities and select “SkypeLocation”
This will link all the entities by location.
This is best Viewed in “Bubble View” as you will see the weight of each location entity.
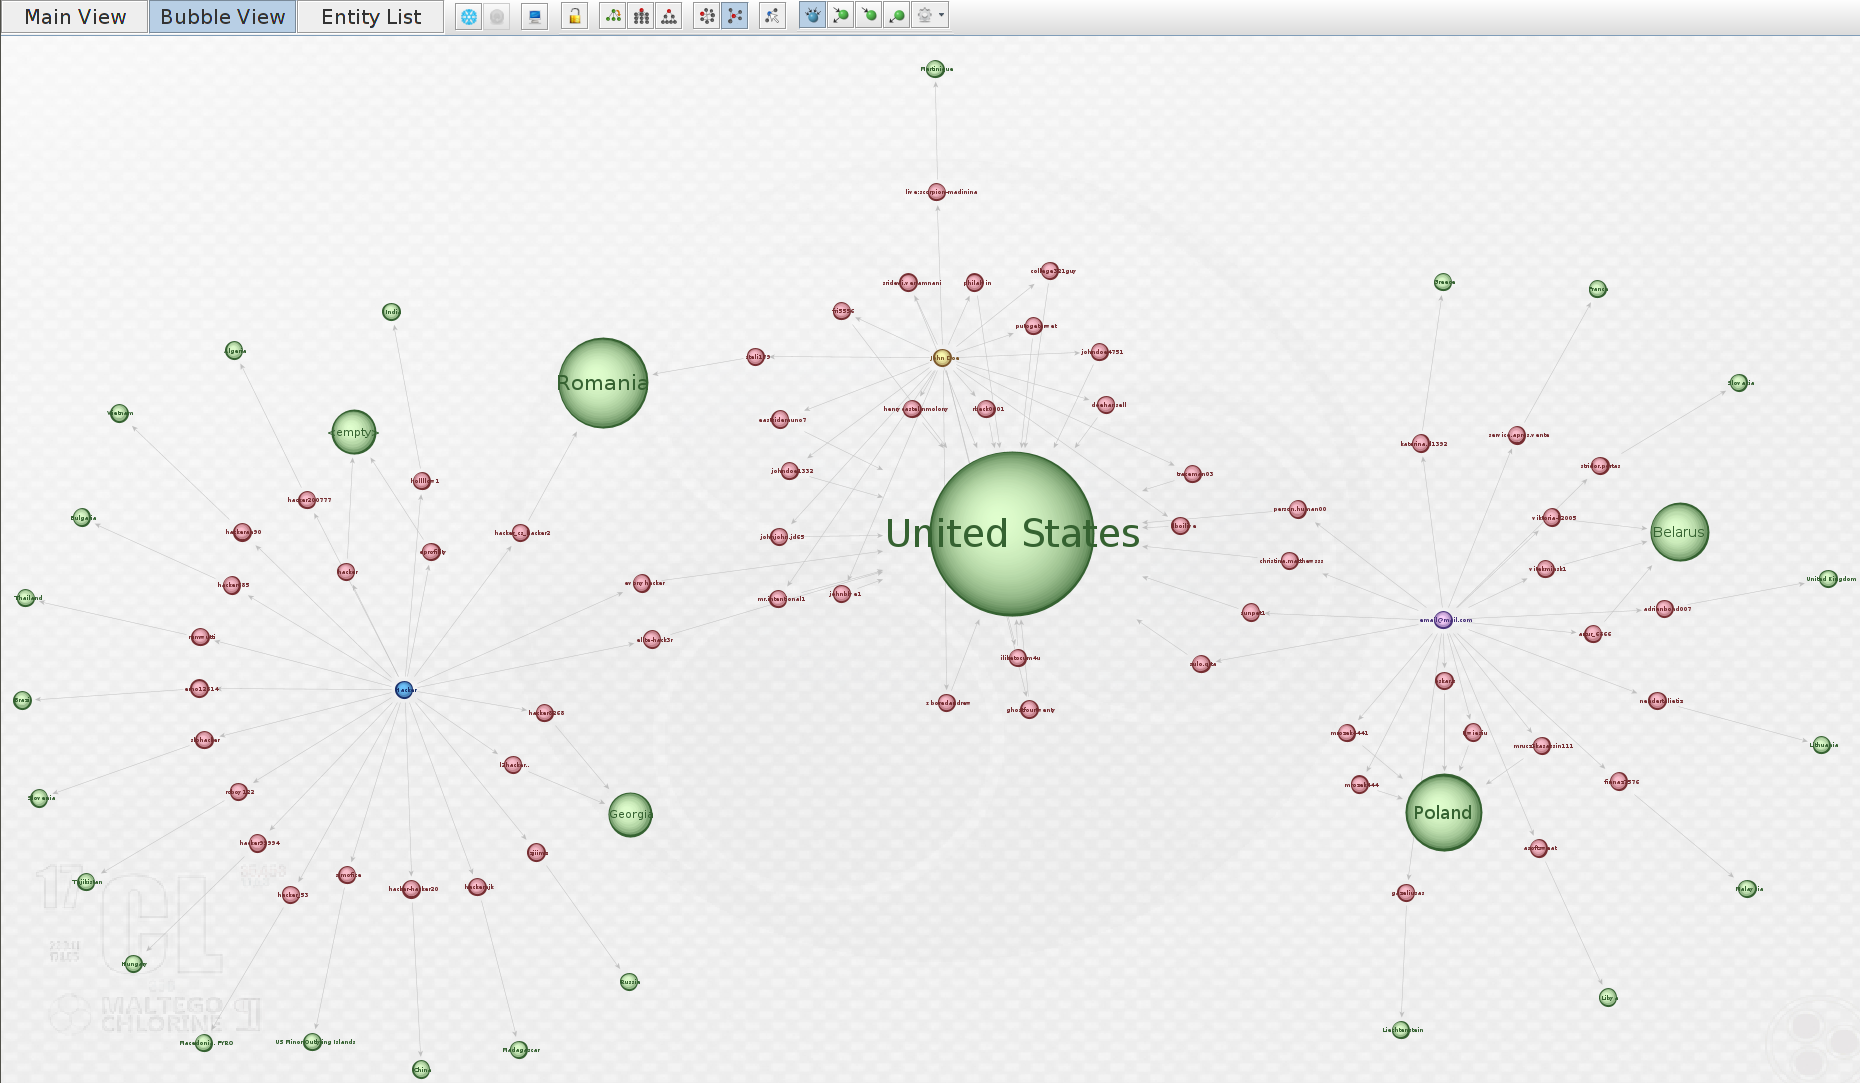
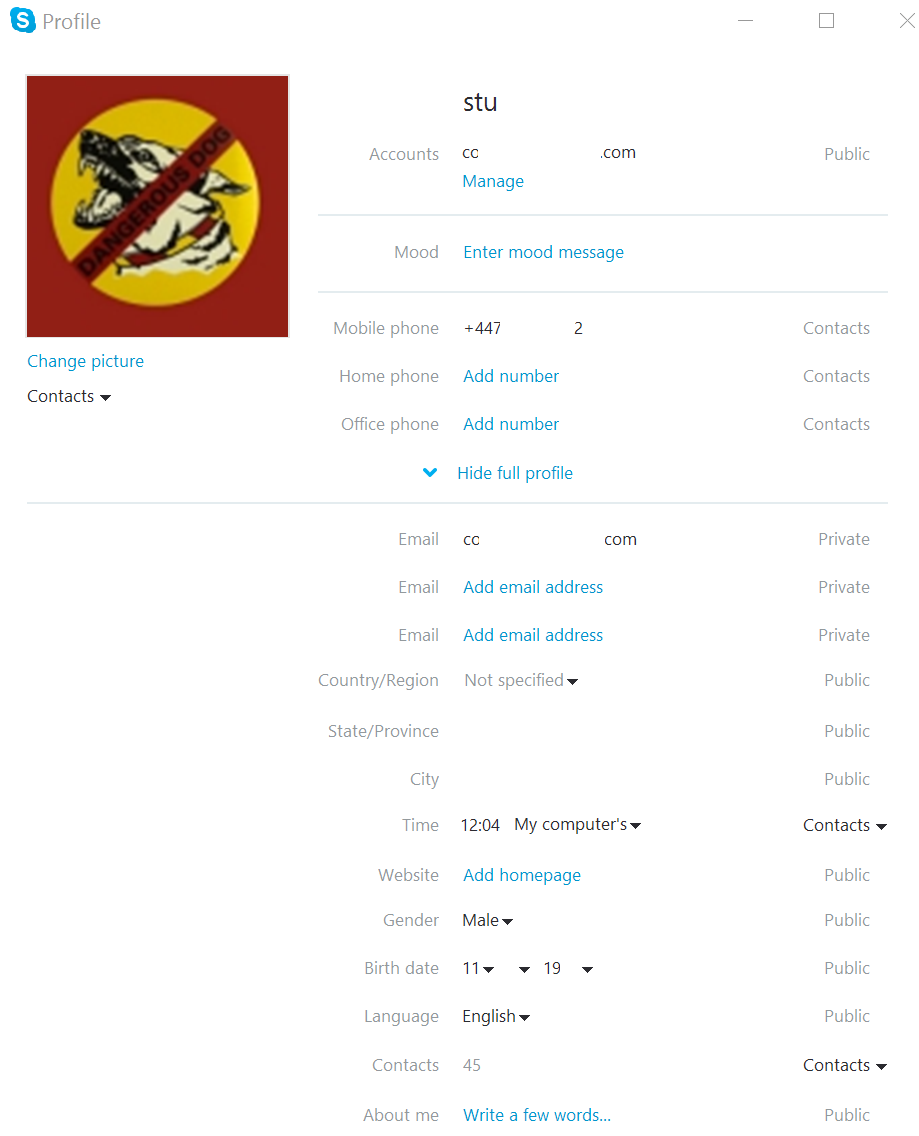
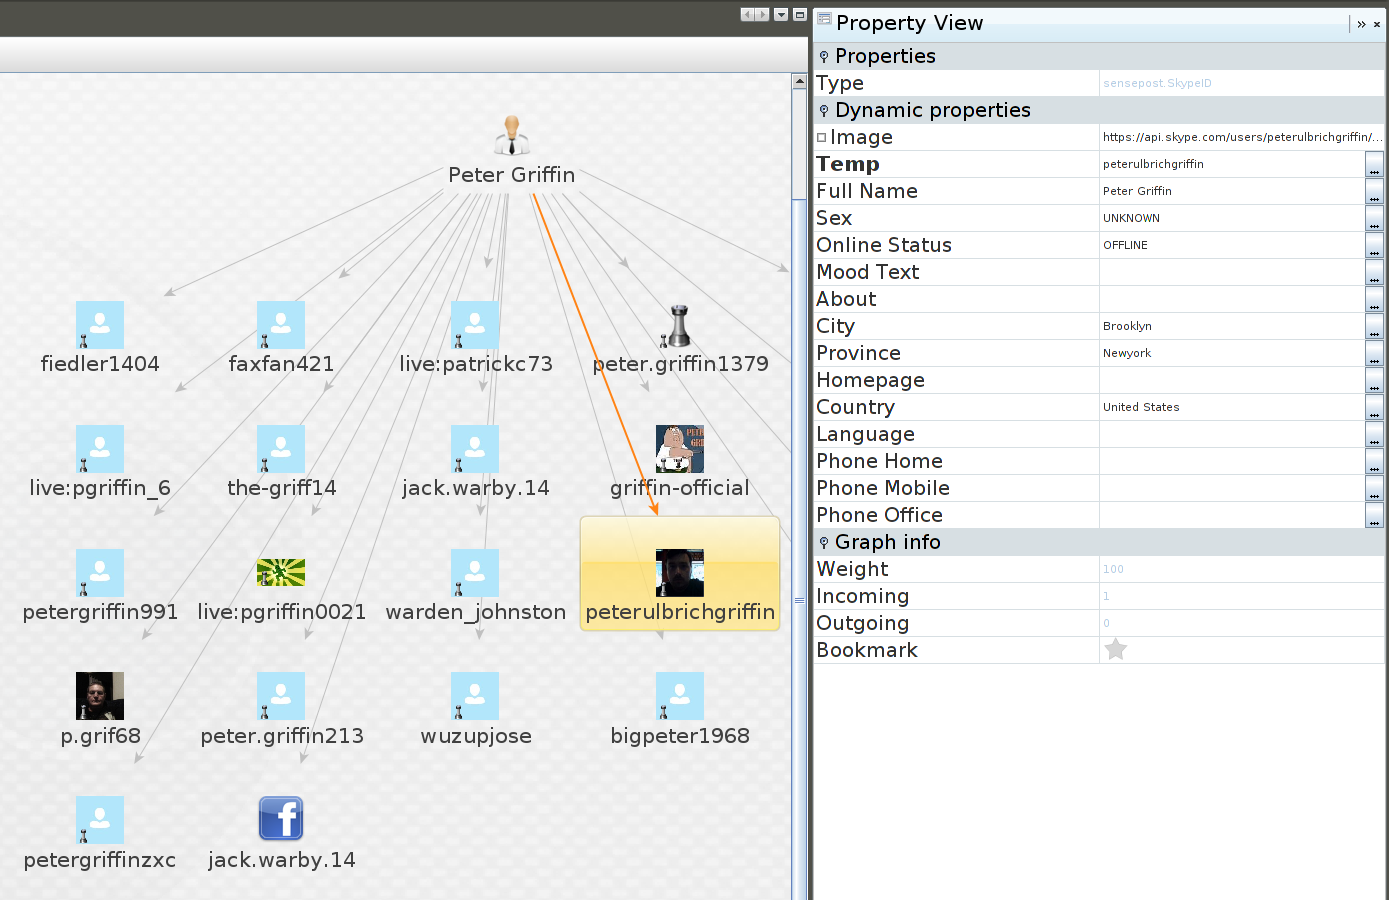
So now we have the entities of the Skype users, we can start to look at the information stored in their profile information.
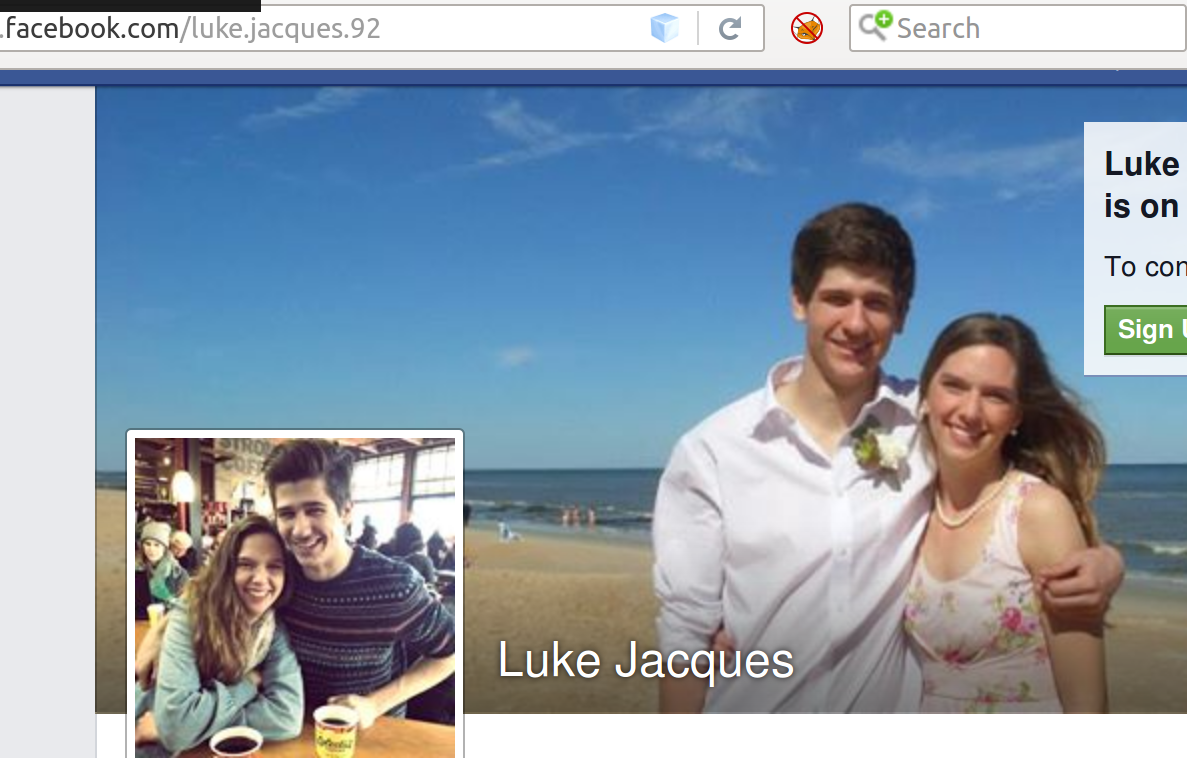
Taking one step further we can get other transforms involved. Here we did a search for “Luke Jacques”
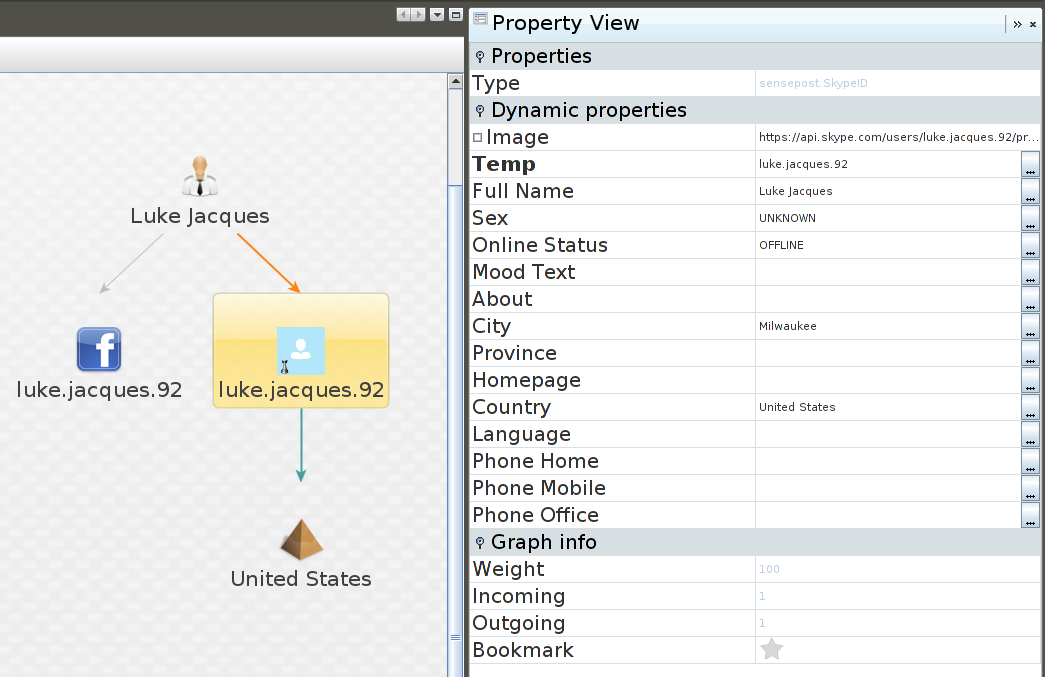
This returned a few entities but i focused on this particular one as it returned a Facebook linked account. As you can see we can pull the Facebook link out of the account and view this.
Understanding how FB accounts work, we can remove the dots from the username and do a lookup on that with “NameCheck”
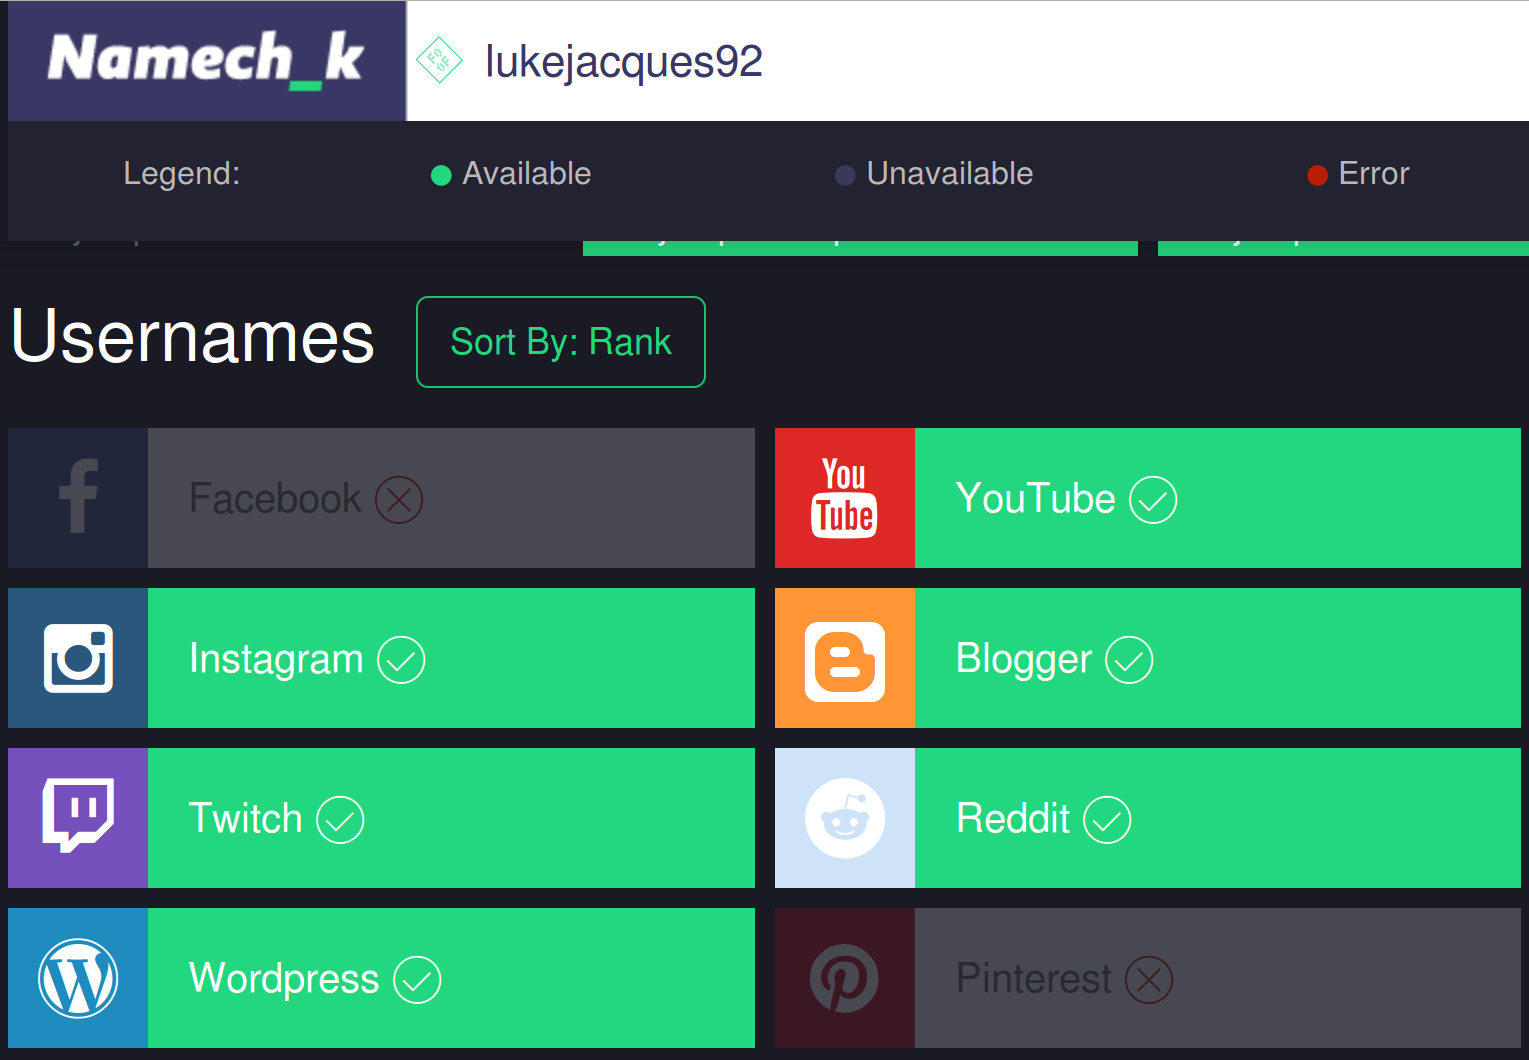
There are transforms for this and they are available on the internet. In this instance I have used the Namechk website. This returned known FB addresses, but also gave us another link to Pintrest.
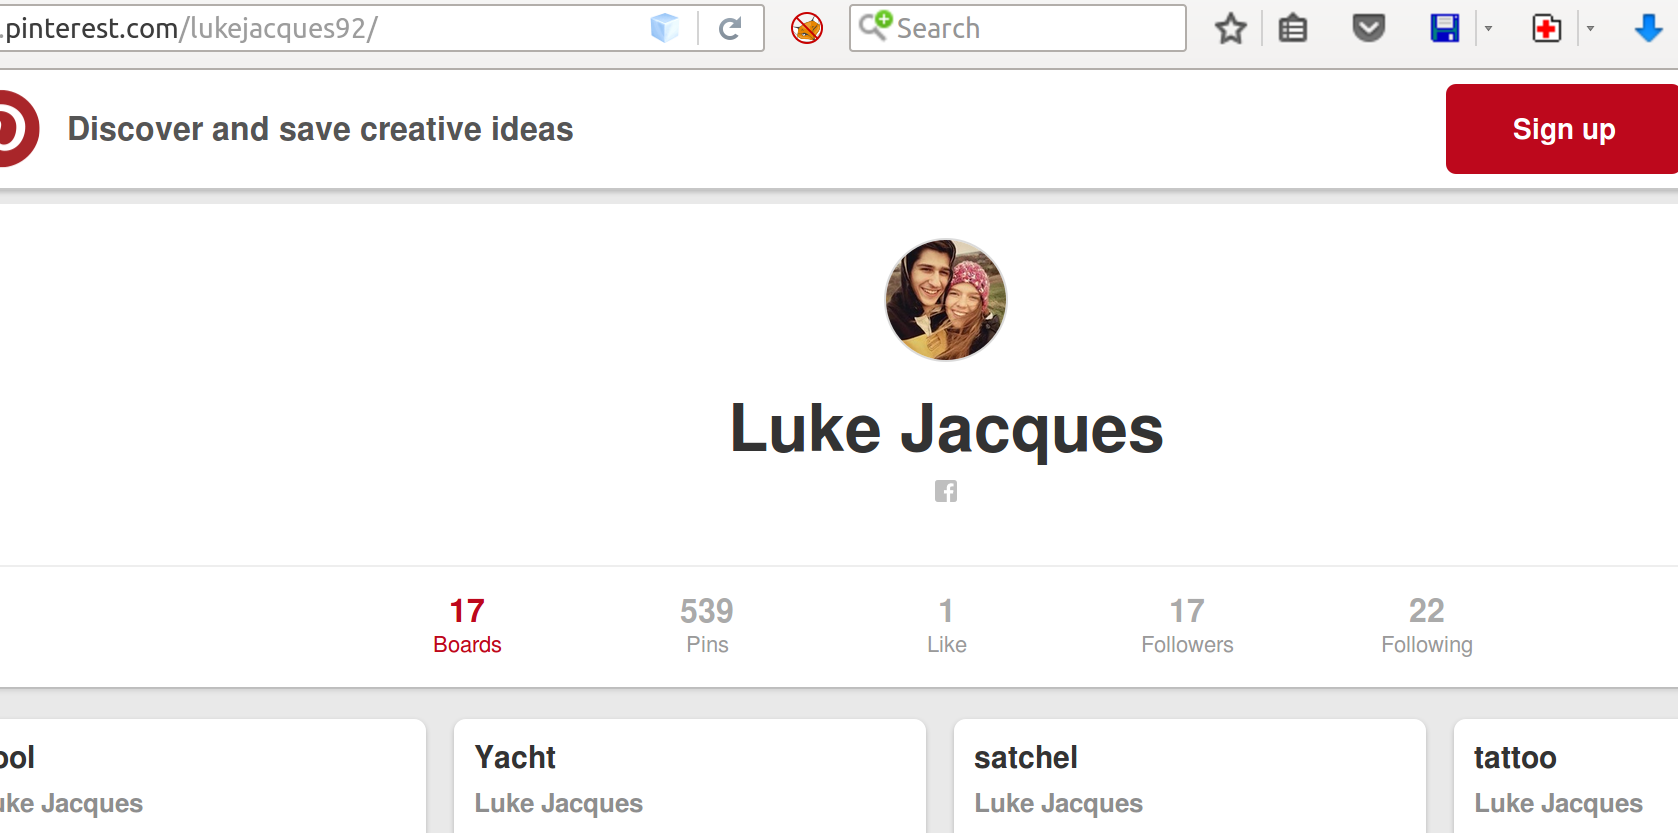
Utilising this available information could be used to conduct Phishing attacks or to build up greater pictures of pattern of life and online life.